Kidcycle uses a safe, web-based program to tag your inventory. Handwritten tags will not be accepted. If at any time you have problems using the system, please feel free to contact us. It is our desire to keep this process quick and easy for everyone.
Supplies Needed
Please note that none of these items will be returned to you after the sale.

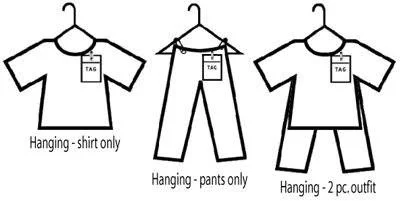
- Appropriate sized hangers
- Safety pins- size 1 inch or larger, 2 inch works great for pants and larger clothing. (You may also use a tagging gun).
- Packing tape and painters tape if tagging books or any toys that may be damaged by packing tape.
- Zip-lock storage bags
- Zip ties
- White or light color 60-67lb card stock. (Paper tags tear easily and often fall off during the sale. Please do not use paper to ensure your tags stay with your items.)
*Important Note: White tagged items will be donated to our Dollar Day Sale where the proceeds go directly to The Diaper Bank of NC. By using white tags, you are also able to shop two hours earlier than those consignors using colored tags. White tagged items will NOT be sorted for return to you. If you would like your items back if they do not sell, you MUST print on light colored cardstock, such as pink, pale blue, or pale yellow. Our volunteers use the color system to sort, so please do not print on ivory or grey as these can be mistaken for white tags. In addition, if you’d like your items returned, please clip the right bottom corner of your tags as another way for our volunteers to ensure your items are sorted out.
Entering Your Items into Our Online System:
A few quick tips
Entering your items into out system is quicker if you gather and organize your items first. The system remembers what you entered last so all you have to do is enter the price and description if its in the same category. Once you have entered a few items and are familiar with the categories (drop down list) you will fly through tagging your items!
Entering and printing items does not need to be completed all in one sitting. Consignors may log in and log out as time is available.
The “Manage Inventory” screen enables consignors to change (edit) tag info and print inventory reports. This is where you will find items that you have entered previously.
Entering and Printing Tags
- Login by clicking on the gray login button on the right side of this page. Once logged in, click on “Enter Items.”
- Click “Discount” if you would like the item to be sold for 50% off if it does not sell during the regular sale. We highly recommend you use this button as shoppers are looking for discounts on 50% off day.
- In the two lines of description, give as much information as possible. This is essential to our volunteers to help find your item if the tag falls off at any point.
- Click “Add Item” and your item will show up at the bottom of the page.
- If you click off of the page and come back to continue, all of the items that you added previously will show up under “Manage Inventory.”
- When you are ready to print your tags, click on “Print Tags.”
- If this is your first time “generating” tags, click on the blue link that says “Click here to view instructions to generate your tags printout.” This will give you all the details to creating the PDF of your tags.
- Since tags are printed in groups of eight, we recommend tagging and printing in small groups of 8-24 which helps matching items to tags a breeze!
- Remember to print your tags on CARDSTOCK and not regular printing paper. Print on WHITE CARDSTOCK if you would like your items donated to our Dollar Day Sale. Print on a light colored (NOT ivory or gray) if you would like your items returned to you. If you want your items returned to you, you will also need to CLIP THE RIGHT CORNER in addition to a light colored cardstock. Quick Tip: Once you have printed your items on the colored card stock, stack them together and snip the right corner. Voila! All of them are done!
- After printing tags please check to make sure the barcode has completely printed and is clear and crisp. Make sure the barcode is not too faded, too light, too small or too dark or fuzzy. Properly printed barcode insures you get credit at time of sale.
- Cut out your tags carefully, making sure not to cut the barcode.
Attaching Your Tags
- Attach tags securely to clothing using safety pins, tagging gun, or zip ties.
- If you are using safety pins, a tip to make this easier is to punch two holes close together on your tag for the safety pin to go through. This eliminates having to push the safety pin through the cardstock. Recommended but not required.
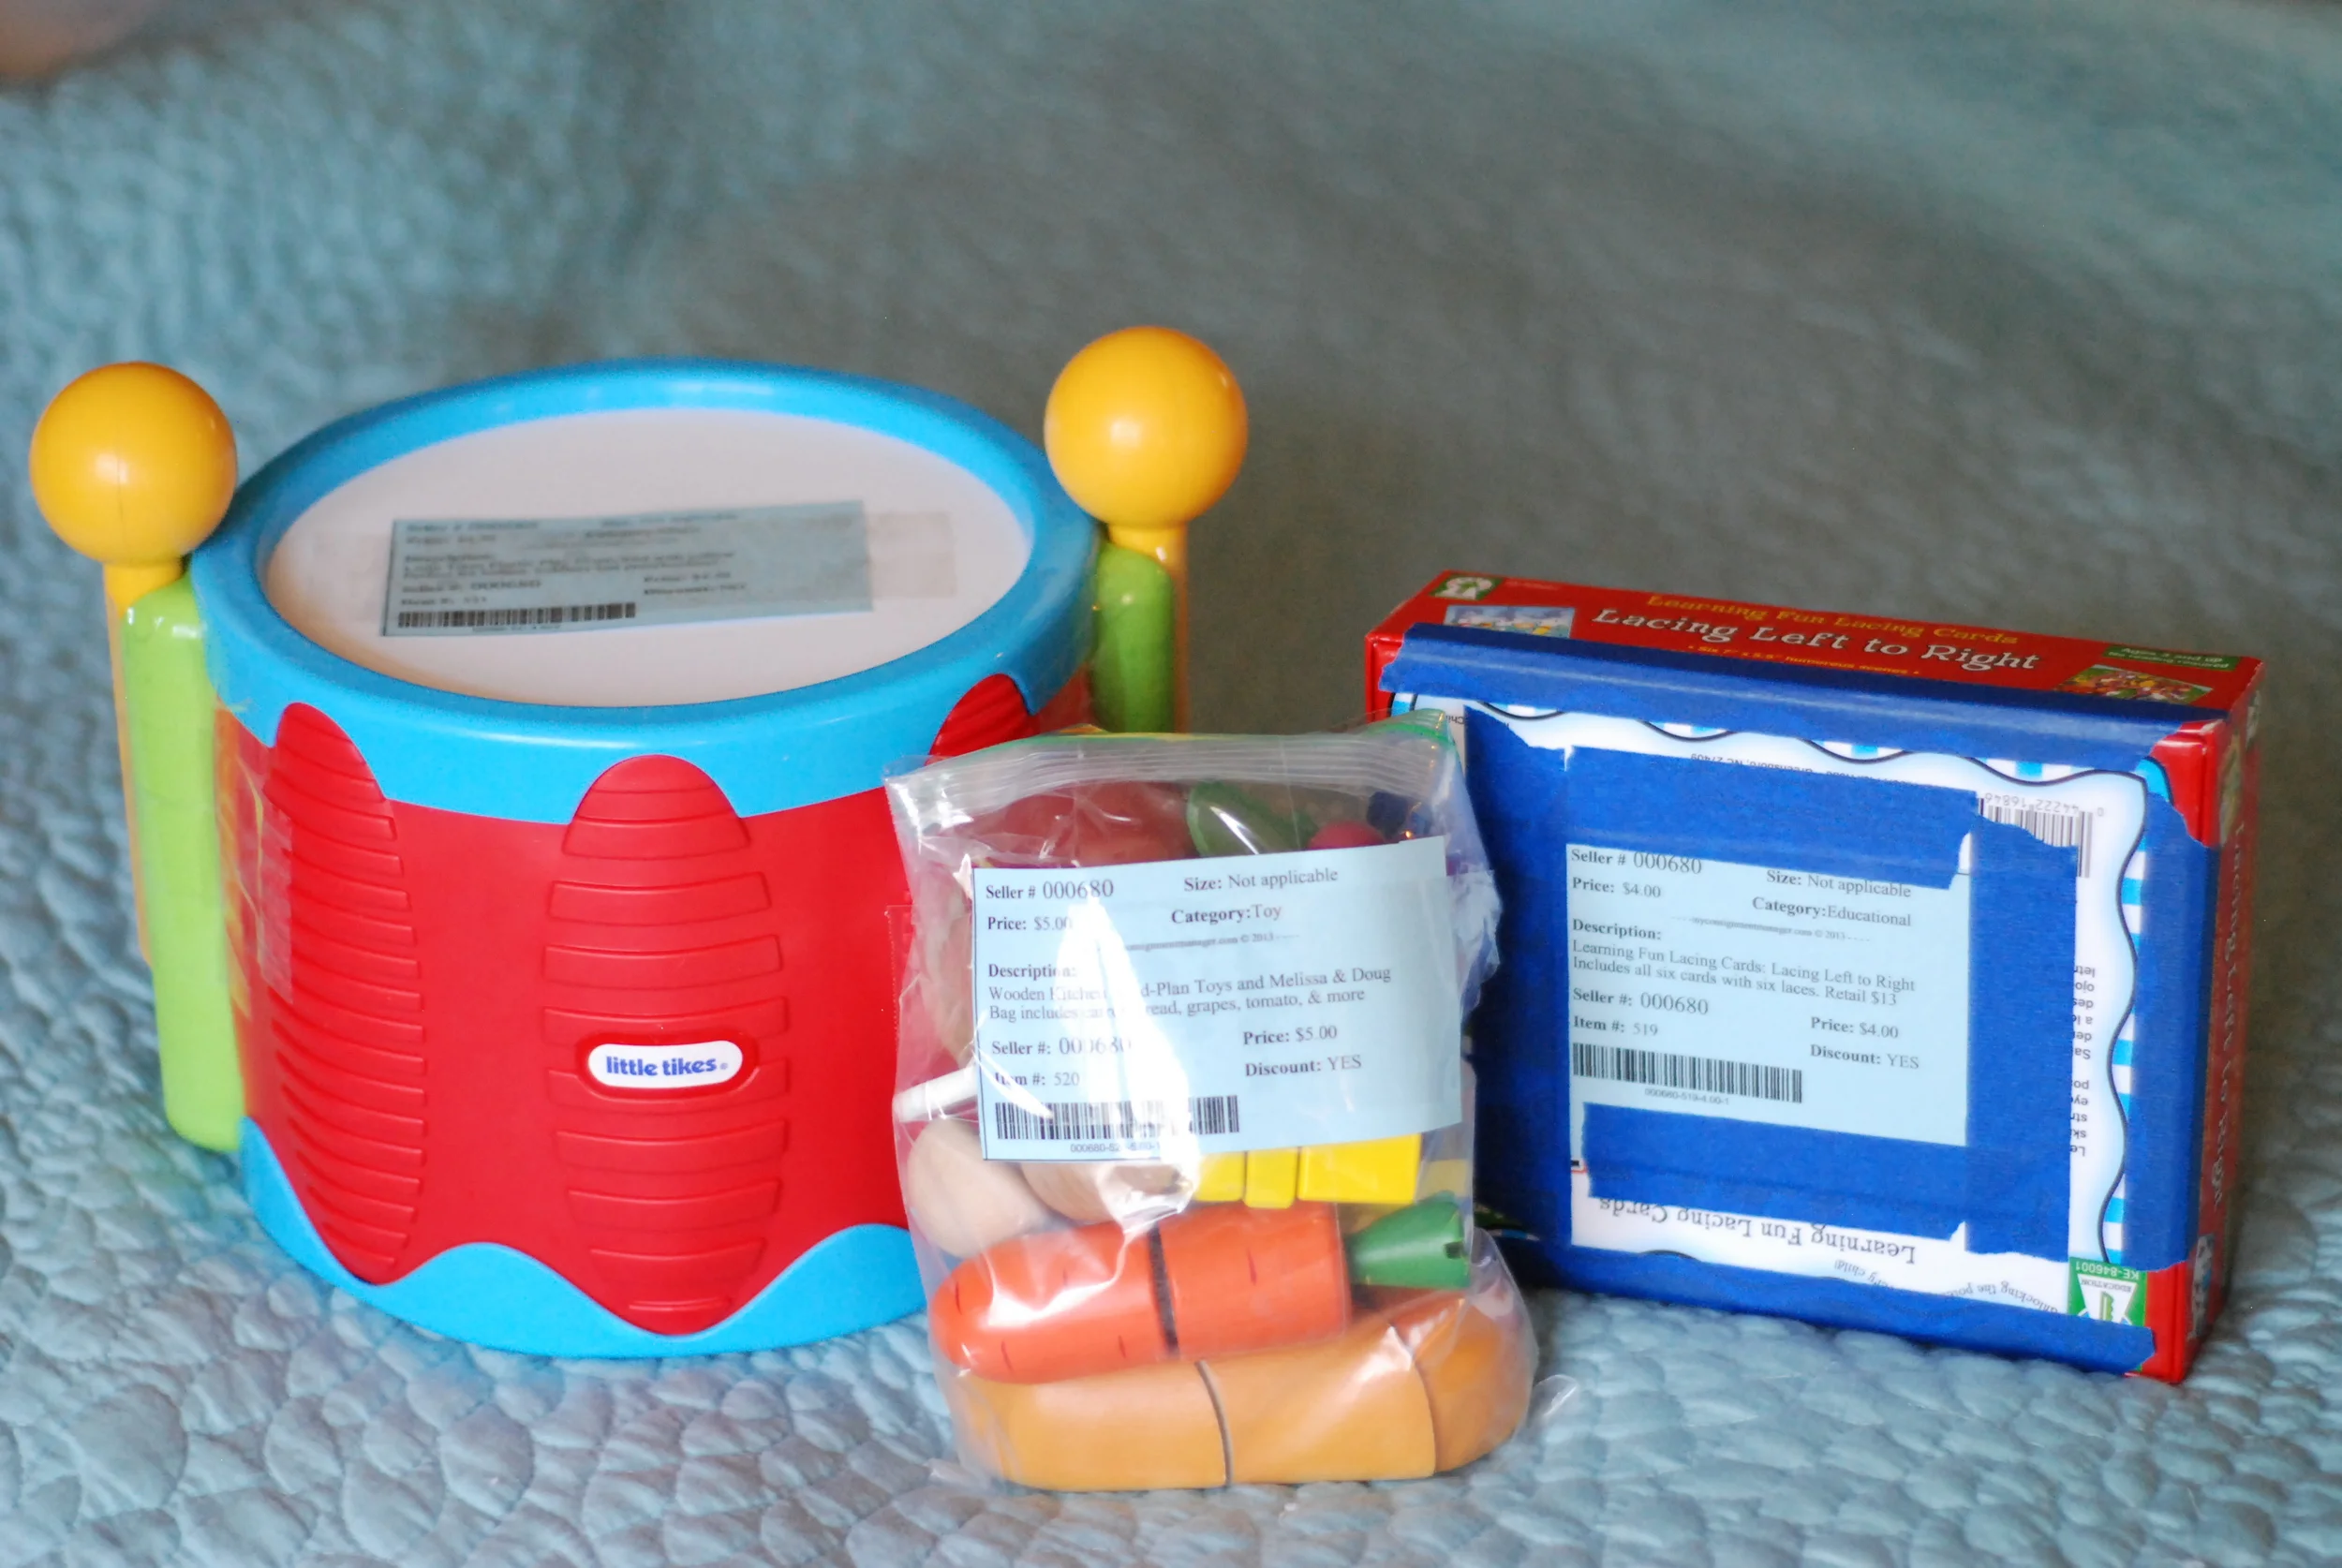
- Attach tags to ziplock bags using packing tape. (Be sure to tape ziplock bags shut).
- Attach tags to any box, book, or anything that might be damaged by packing tape, with painters tape.
- For more information and pictures, go to our Facebook page and click on photos and albums. Our album “Tagging Tips” has some great tips with pictures to help!
- Put tagged items in boxes or storage containers, out of sight until you’re ready to load up for drop off.